Turbine Project part III
You thought I forgot about this side project, didn't you? I've been real busy, but I did sneak in some time to get back on it.
If you remember from the first post..and the second post...we were about to start the interior detail.
As I said before, Jo-han's kits are incredibly detailed and the interior is no exception. Each front bucket seat is made up of 5 different pieces, to accommodate the folding mechanism and the chrome detail.
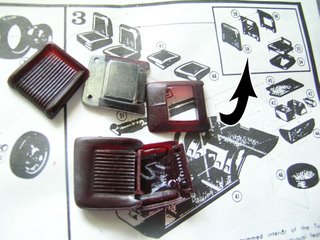
Since the chrome is added into the parts, I decided to prime all the individual pieces, paint the bronze leather, then assemble them.
Since I was priming things, I thought I'd piece together the floor, spare tire compartment, and the extra battery box.
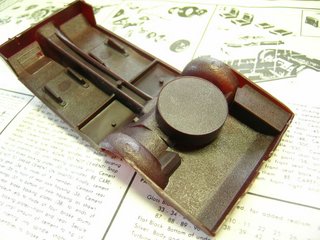
I noticed that there was evidence of dog hunger, as I tried to get the back seats ready for primer.
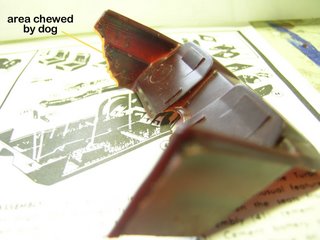
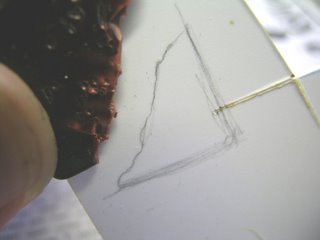
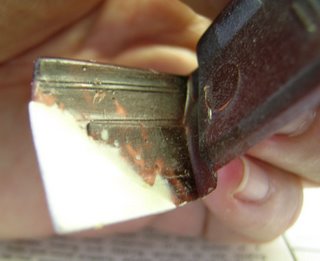
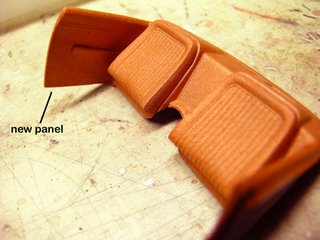
The chewed section had to be replaced, as the section on the main engine had been. I took a sheet of styrene (of a proper thickness) and traced out the missing shape...
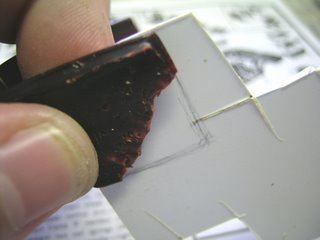
...traced along the broken edge...
...cut that piece out, filed and fitted as close as possible...
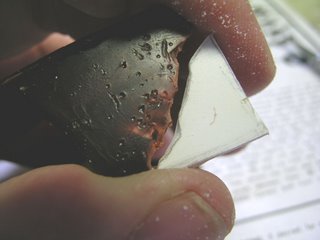
...then glued it to the edge and reinforced it with more sheet styrene...
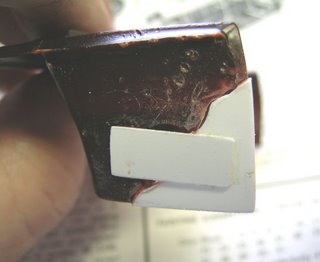
...after that dried, I then filled the cracks (and helped reinforce the join) with Magic Sculp epoxy putty.
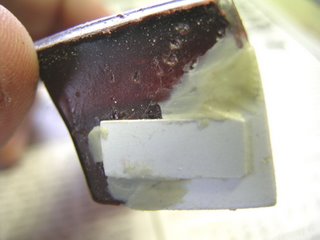
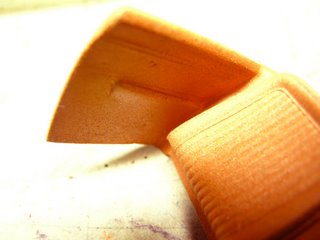
I primed it and painted it with the same "bronze leather" mixture I made up for the seats. I took an acrylic bronze craft paint, and mixed a dab of orange acrylic to warm up the tone and matte out the metallic effect. I didn't want the seats to look like they were made of metal.
The "carpet" in the floorboard was painted in a rust/bronzey color with just straight acrylics (and a spray of Testor's Dull Coat) and the seats were fitted in for a test look.
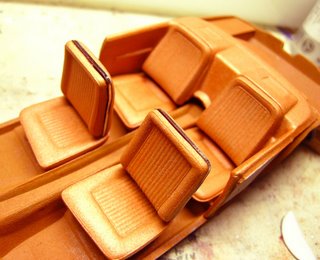
Nice.
Next time...more interior.
*added note*
It's been long stretches between posts, partially due to my work, but mostly because of Blogger's tinkering with their system. It's been hard to post pics, and I thought it was totally my doing...but after reading this post...I see that I'm not the only one having trouble. I read the different posts and have adopted Mozilla's Forefox as a browser and have been loading images twice as fast as before. So...more posts in the future with large pics and images.
Thanks PCL LinkDump!
If you remember from the first post..and the second post...we were about to start the interior detail.
As I said before, Jo-han's kits are incredibly detailed and the interior is no exception. Each front bucket seat is made up of 5 different pieces, to accommodate the folding mechanism and the chrome detail.

Since the chrome is added into the parts, I decided to prime all the individual pieces, paint the bronze leather, then assemble them.
Since I was priming things, I thought I'd piece together the floor, spare tire compartment, and the extra battery box.

I noticed that there was evidence of dog hunger, as I tried to get the back seats ready for primer.

The chewed section had to be replaced, as the section on the main engine had been. I took a sheet of styrene (of a proper thickness) and traced out the missing shape...

...traced along the broken edge...

...cut that piece out, filed and fitted as close as possible...

...then glued it to the edge and reinforced it with more sheet styrene...

...after that dried, I then filled the cracks (and helped reinforce the join) with Magic Sculp epoxy putty.


I primed it and painted it with the same "bronze leather" mixture I made up for the seats. I took an acrylic bronze craft paint, and mixed a dab of orange acrylic to warm up the tone and matte out the metallic effect. I didn't want the seats to look like they were made of metal.


The "carpet" in the floorboard was painted in a rust/bronzey color with just straight acrylics (and a spray of Testor's Dull Coat) and the seats were fitted in for a test look.

Nice.
Next time...more interior.
*added note*
It's been long stretches between posts, partially due to my work, but mostly because of Blogger's tinkering with their system. It's been hard to post pics, and I thought it was totally my doing...but after reading this post...I see that I'm not the only one having trouble. I read the different posts and have adopted Mozilla's Forefox as a browser and have been loading images twice as fast as before. So...more posts in the future with large pics and images.
Thanks PCL LinkDump!


0 Comments:
Post a Comment
<< Home